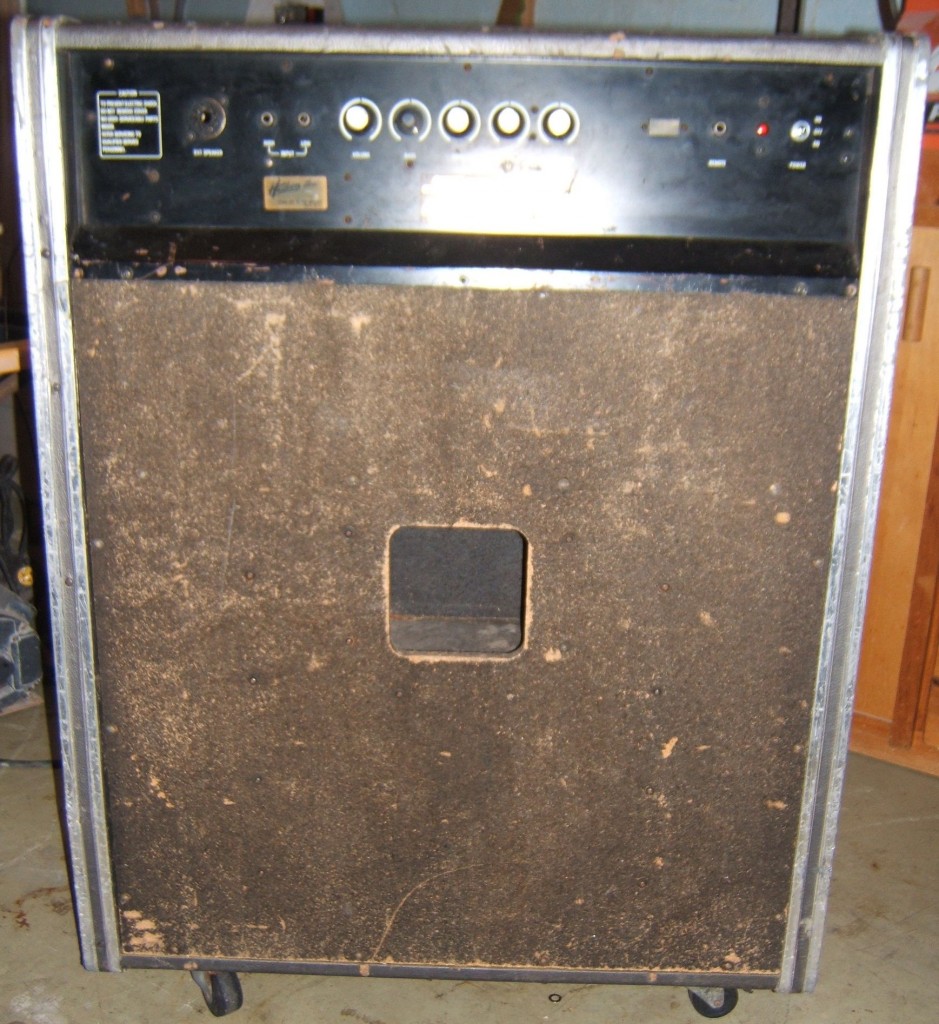
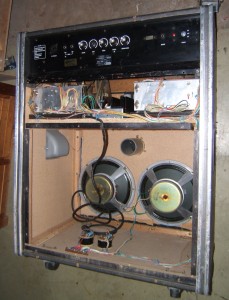
A while back, I found this Yamaha RA-100 organ amplifier in the local ads. I didn’t think much of it but I thought it was very interesting with its dual rotating speakers. It seemed to be in rough shape but the price wasn’t too steep and it would make for a cool project. The person I bought it from couldn’t say whether it worked or not. It looked like it was kept in a barn for a couple of years. We met at a farmer’s supply store. It was in the back of his pickup truck and we eased it into the little Honda Fit. This thing is an absolute beast. Big, bulky and heavy, but the poor little Honda managed to bring it back home.
-
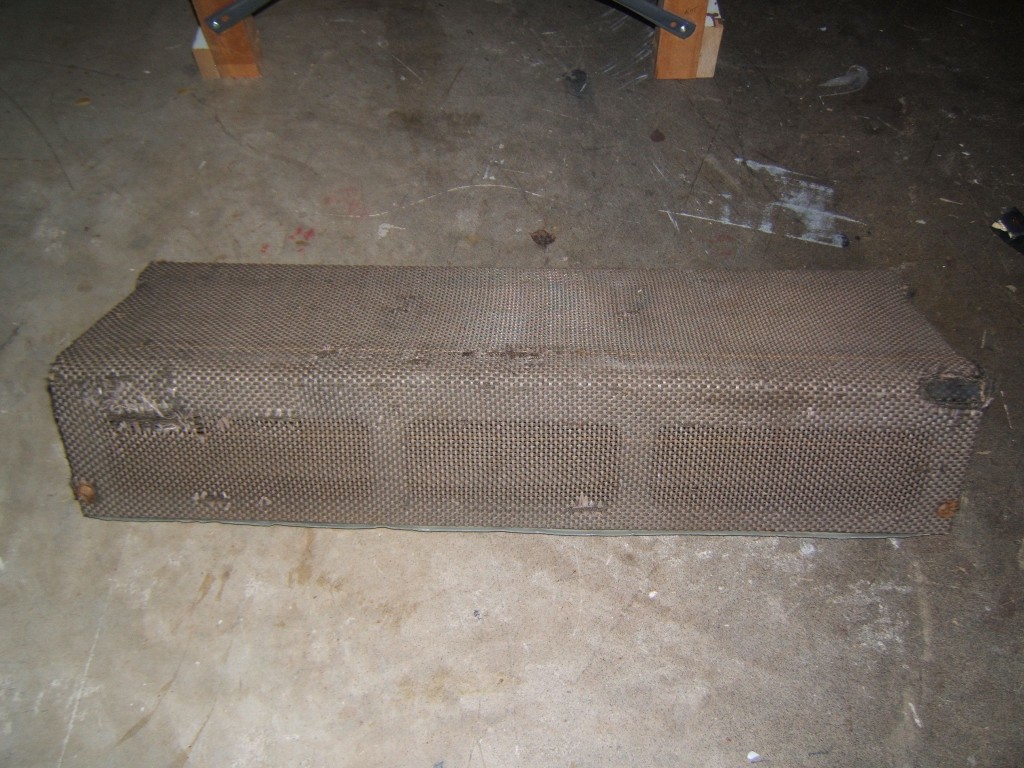
- RA-100 Front
-
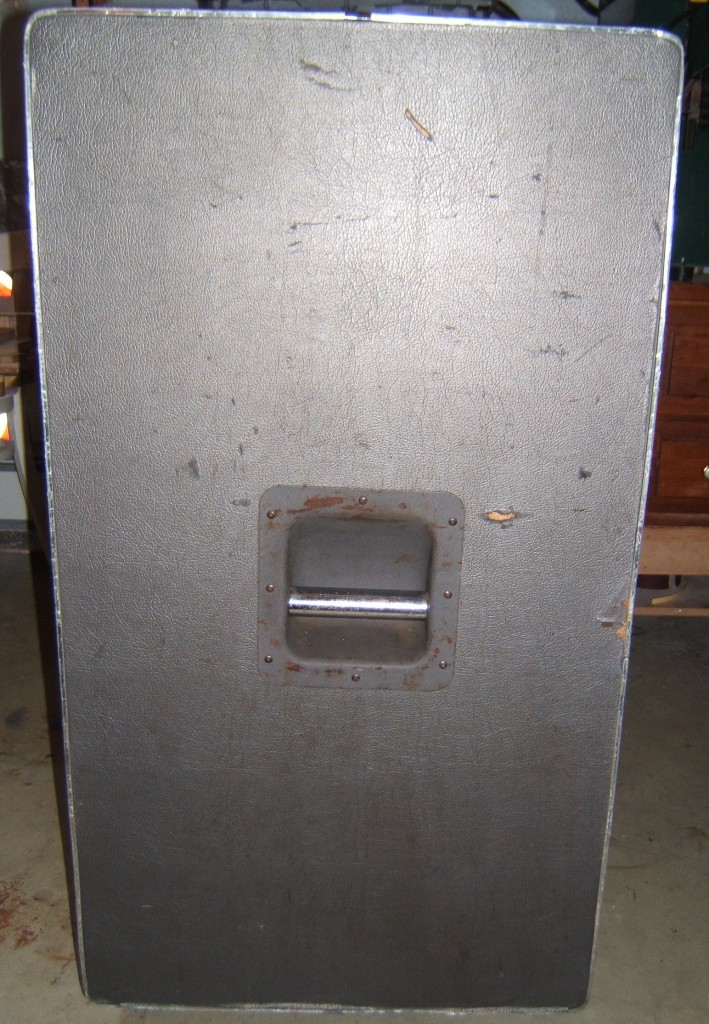
- RA-100 Back
-
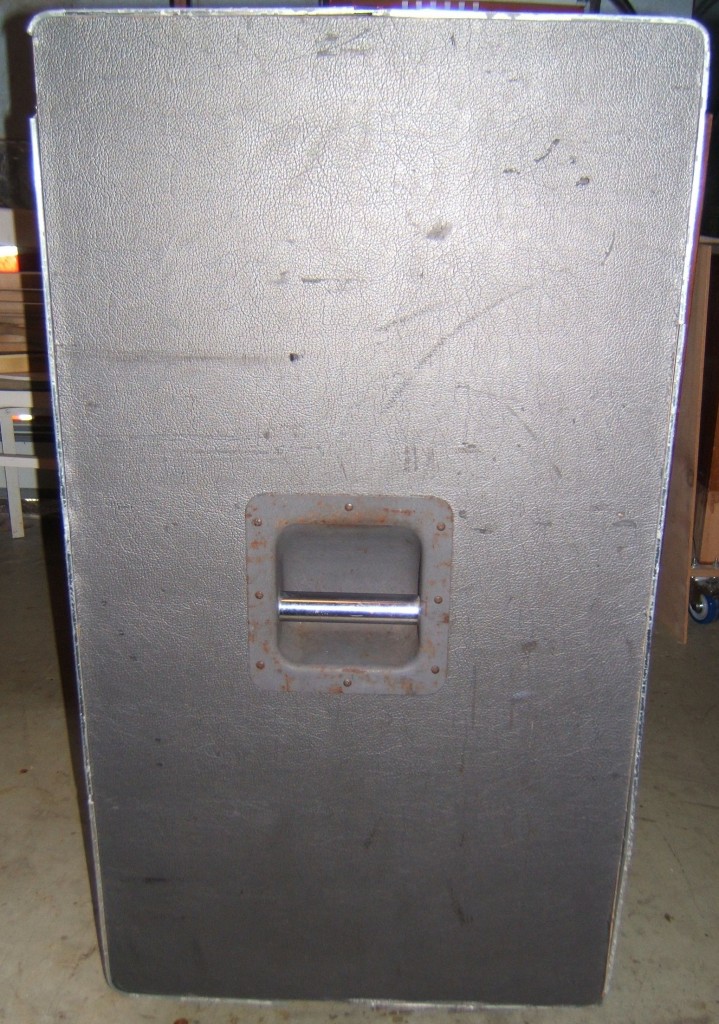
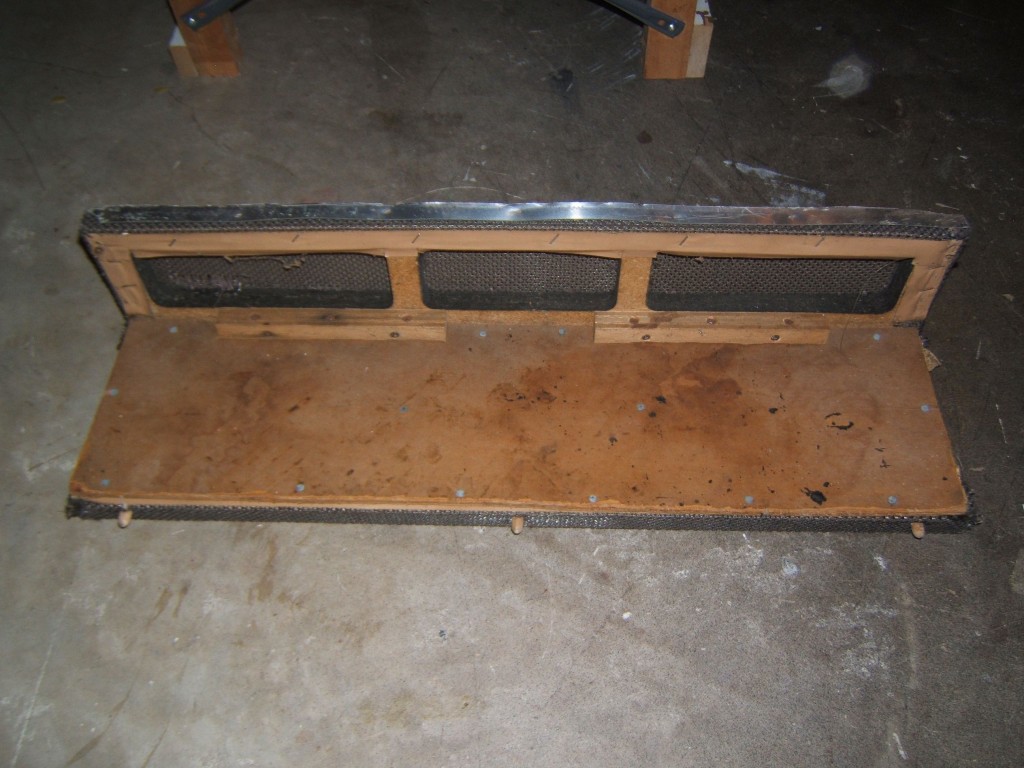
- RA-100 Side 1
-
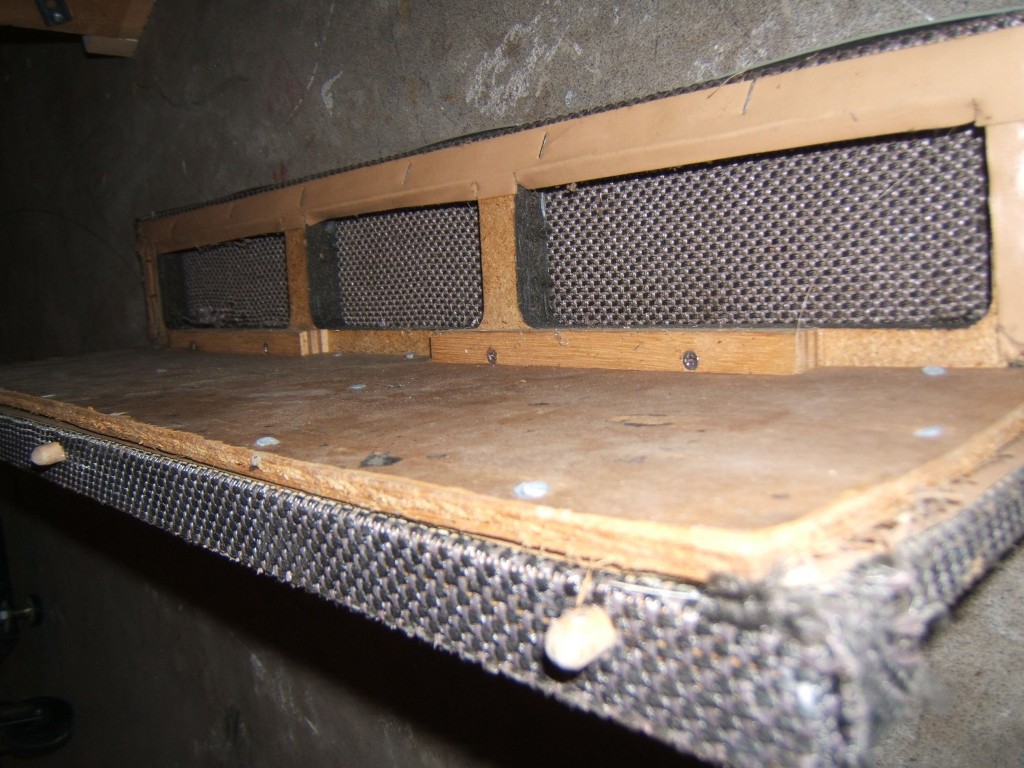
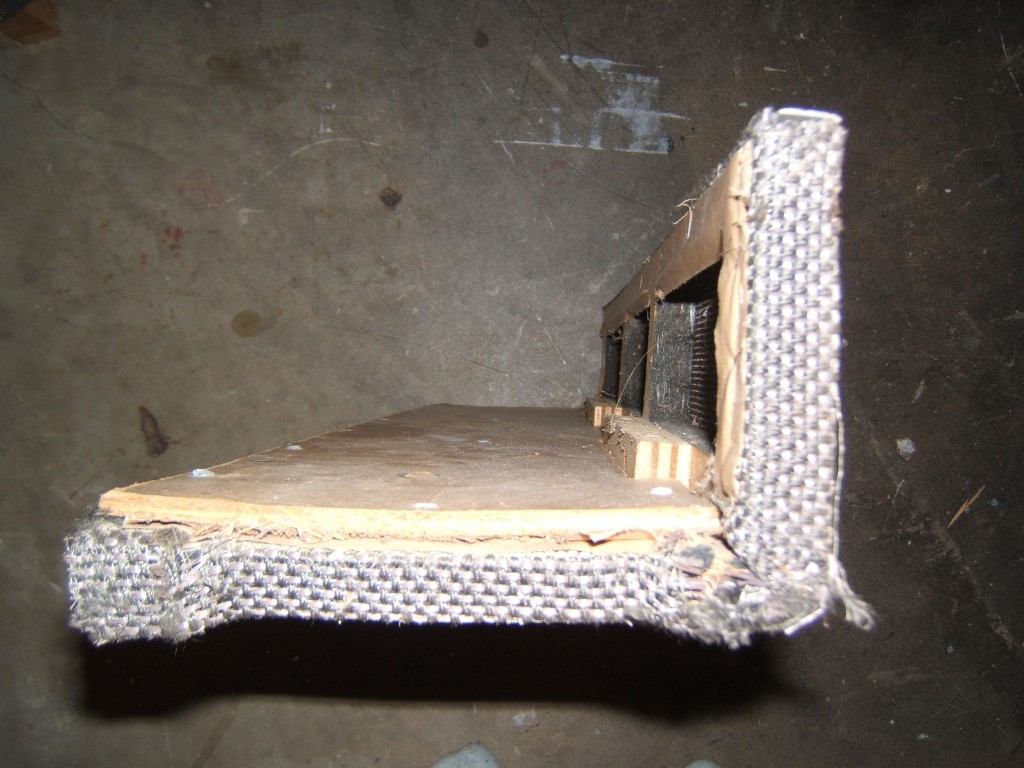
- RA-100 Side 2
Cabinetry
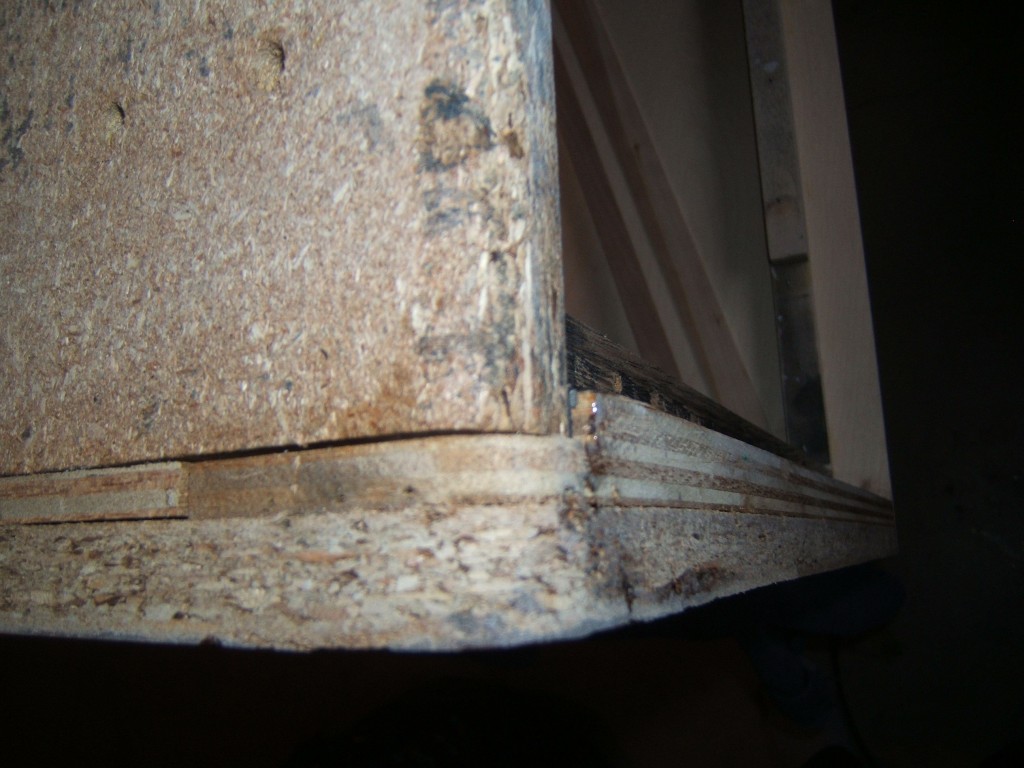
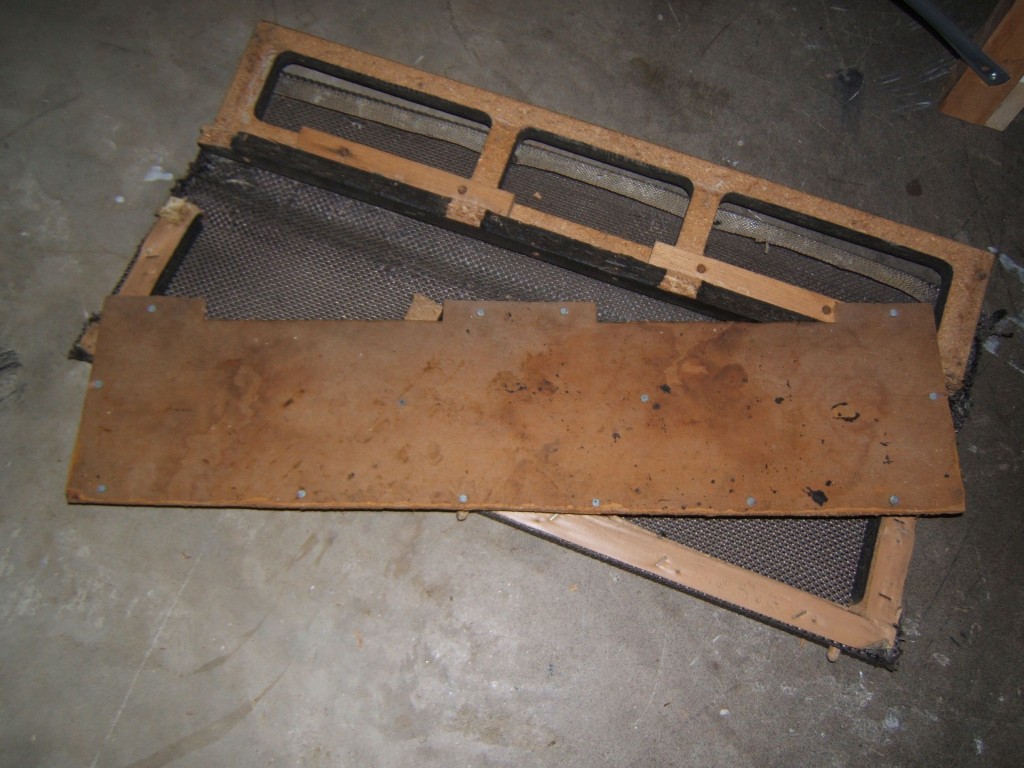
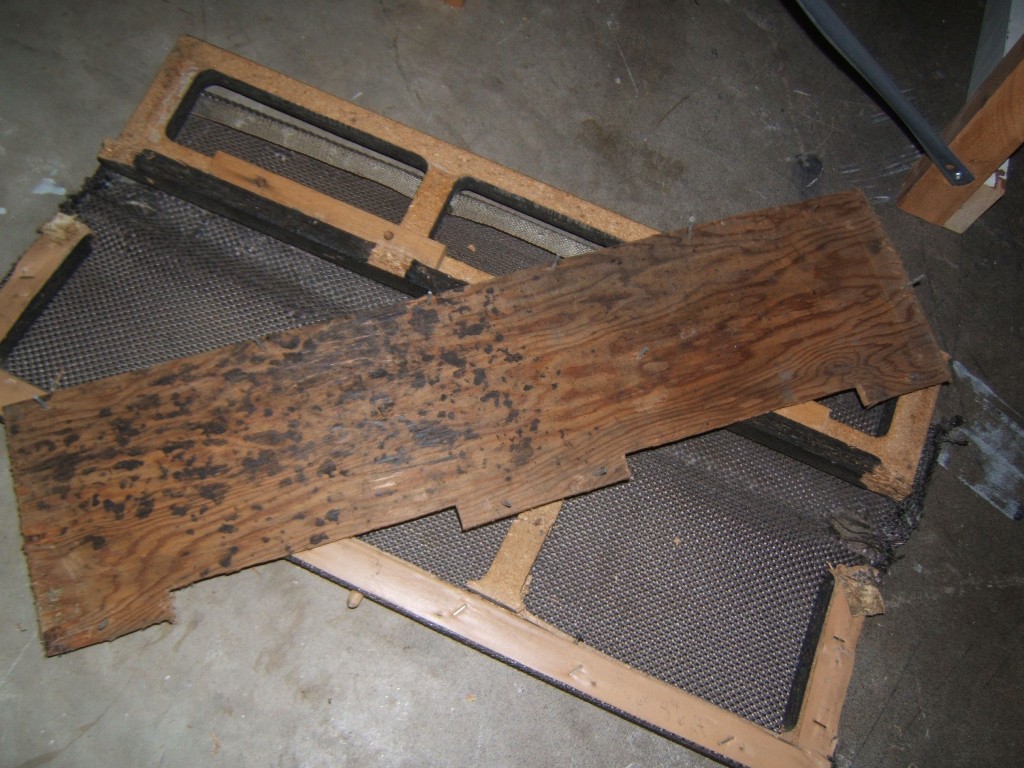
The cosmetics were bad, the top grille was ripped and looked like it was been chewed on by a rodent. When I got it home, upon inspection, I found that the power amp was badly distorting, the bottom two 12″ speakers were completely seized, the rear particle board panel was crumbling, but the rotating speakers seemed to work in terms of rotating and producing a sound. That’s the important part.
I did some research on the ‘net and found little info on these but did manage to find a schematic for it and to my surprise, found out that Gilmour used the 200w, 4×12 version of this very same amp. I was very happy to find that little bit of information out.
Cabinetry Overhaul
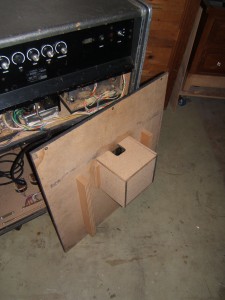
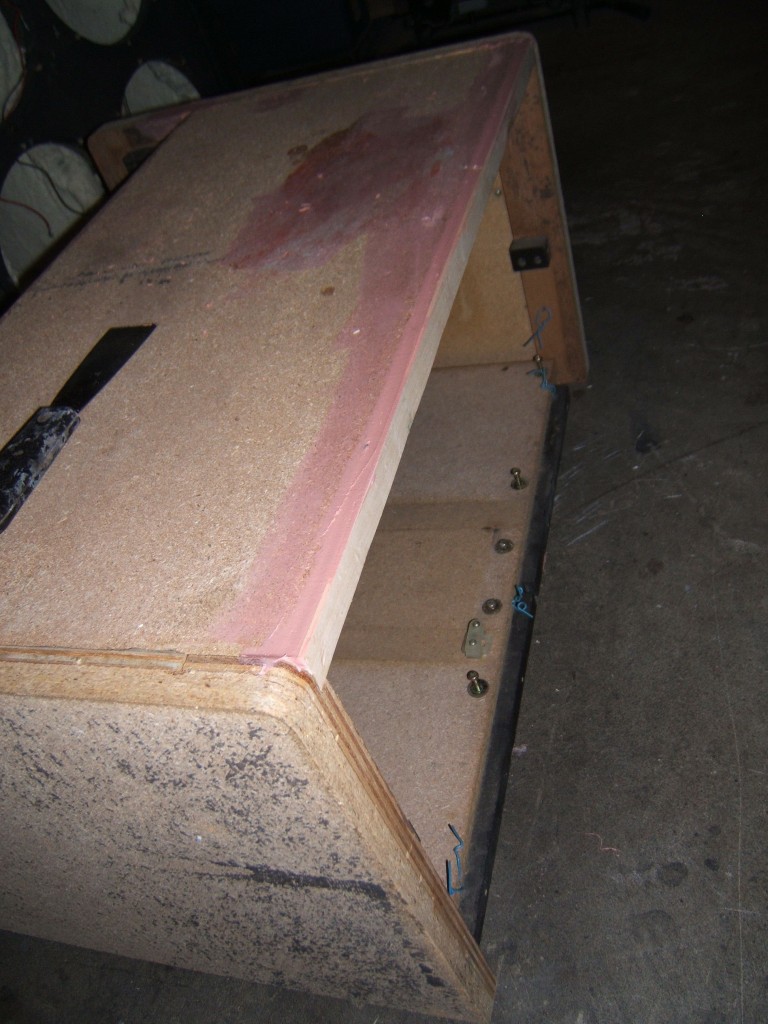
I needed to completely overhaul the electronics. That meant replacing all electrolytics and figuring out what’s broken with the electronics. Cosmetically, I decided that to make this thing a little more practical, I would cut it in half, making it into a two piece amp with the 2×12 cabinet on the bottom and amplifier and rotary speaker assembly on top. This would make it more portable. The thing was is bad shape to start with so might as well redo it all.
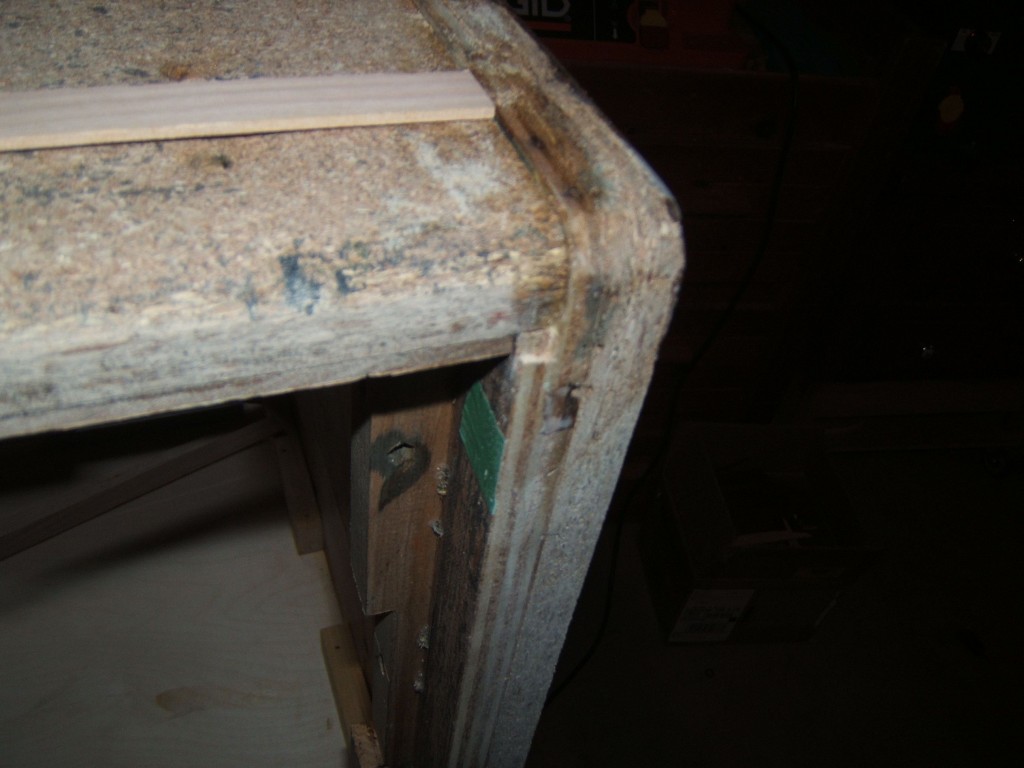
Here’s some of the cabinetry cut up in half and the start of the complete dismantling. You can see that the cabinetry is rough. I invested quite a bit of time in fixing it up to make all seams and joints smooth so I could apply new tolex and trim onto a nice surface.
-
- Cut Top Cabinet Preamp
-
- Cut Top Cabinet Speaker
-
- Ra-100 Top Cabinetry closeup
-
- Ra-100 Top Cabinetry rebuild
-
- Ra-100 Top Cabinetry closeup
-
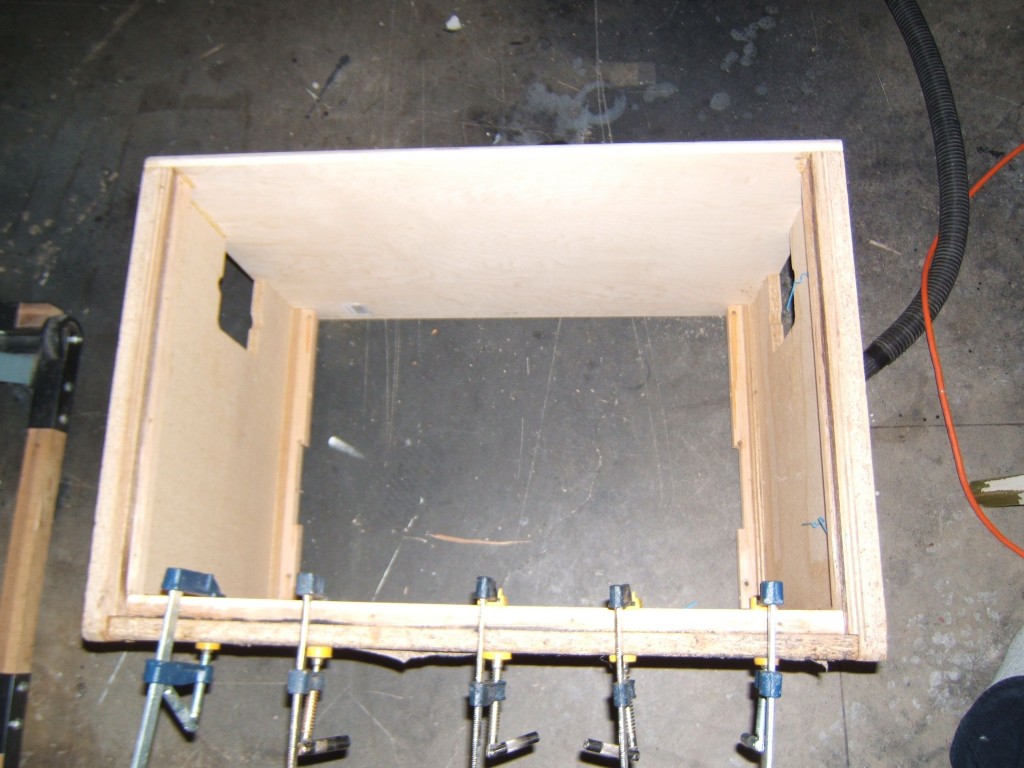
- Bottom portion: Conversion to 2×12 cab. The top is a birch plywood piece, as are the replacement front and back panels.
-
- Rotating Speaker Grille
-
- Rotating Speaker Grille
-
- Rotating Speaker Grille
-
- Rotating Speaker Grille
-

- Rotating Speaker Grille
-
- Rotating Speaker Grille
-
- Rotating Speaker Grille
-
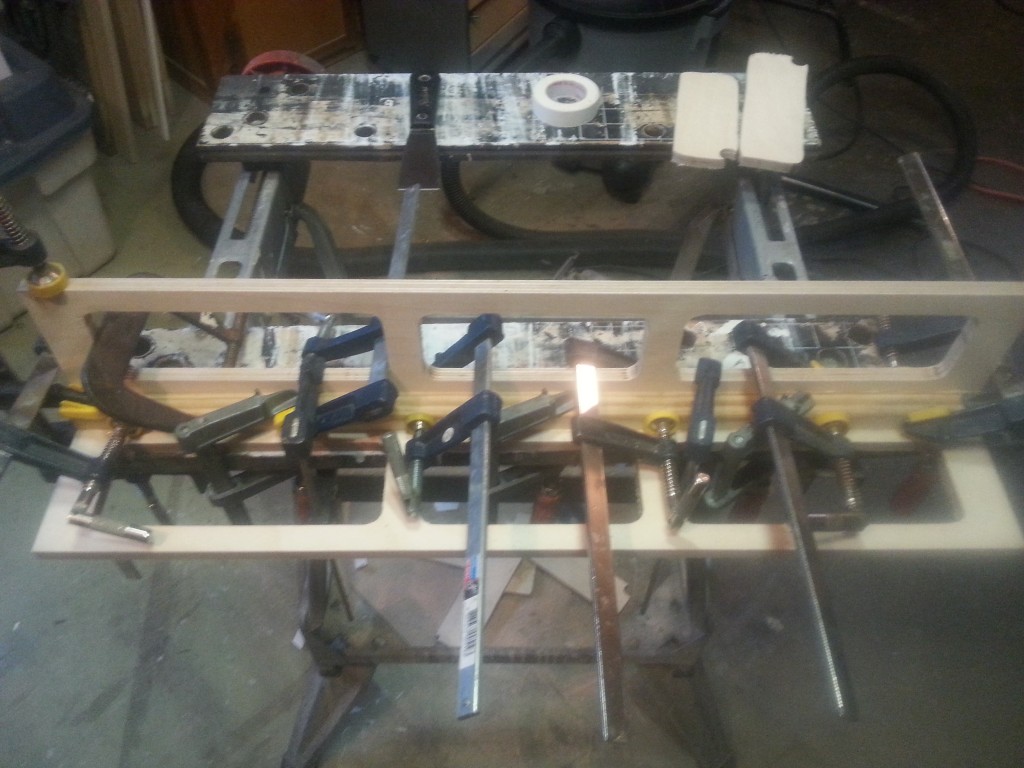
- RA-100 Top Speaker Grille Clamping
-
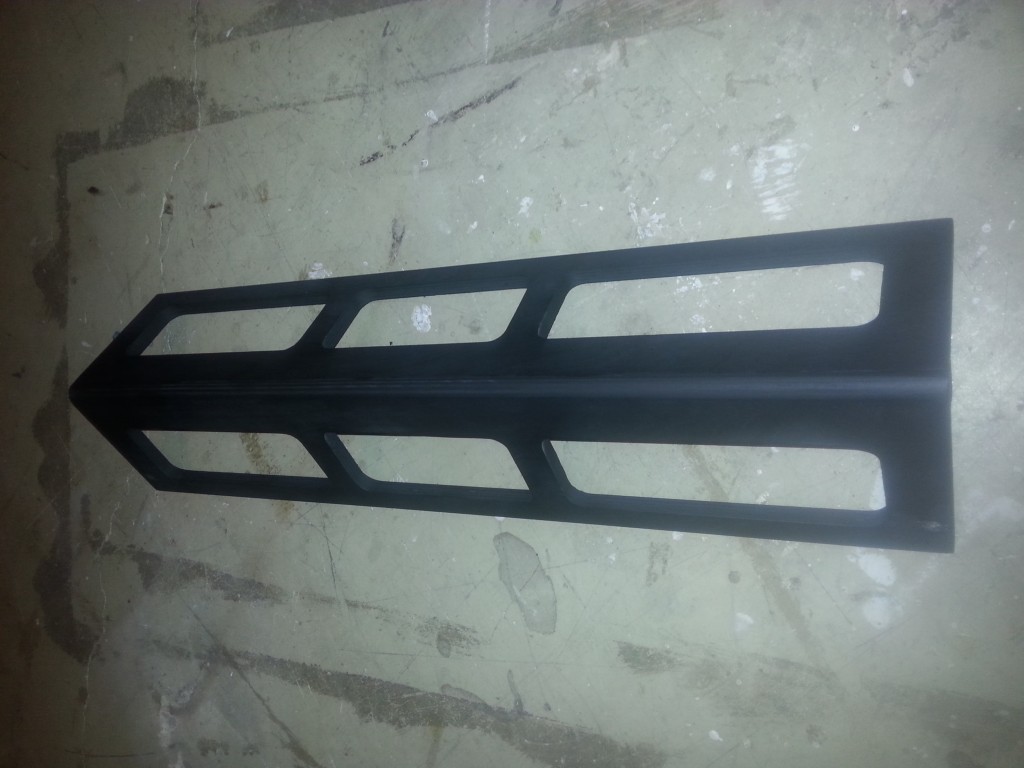
- Brand new rotating speaker grille support. Built from birch plywood.
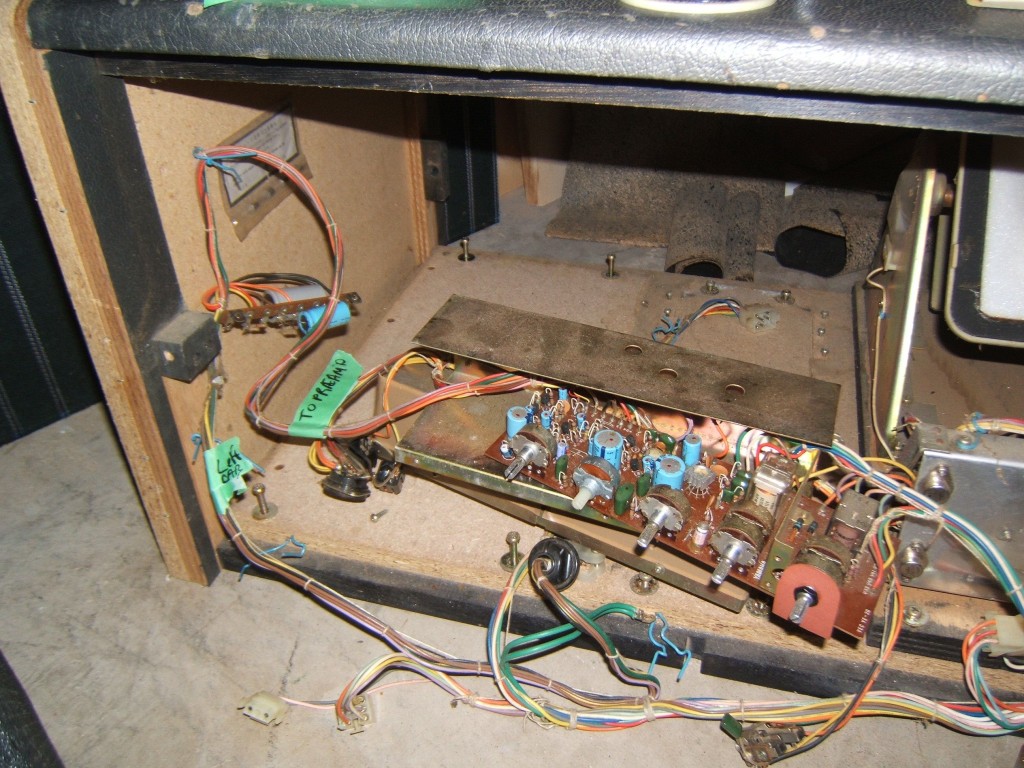
Electronics – Electrolytics
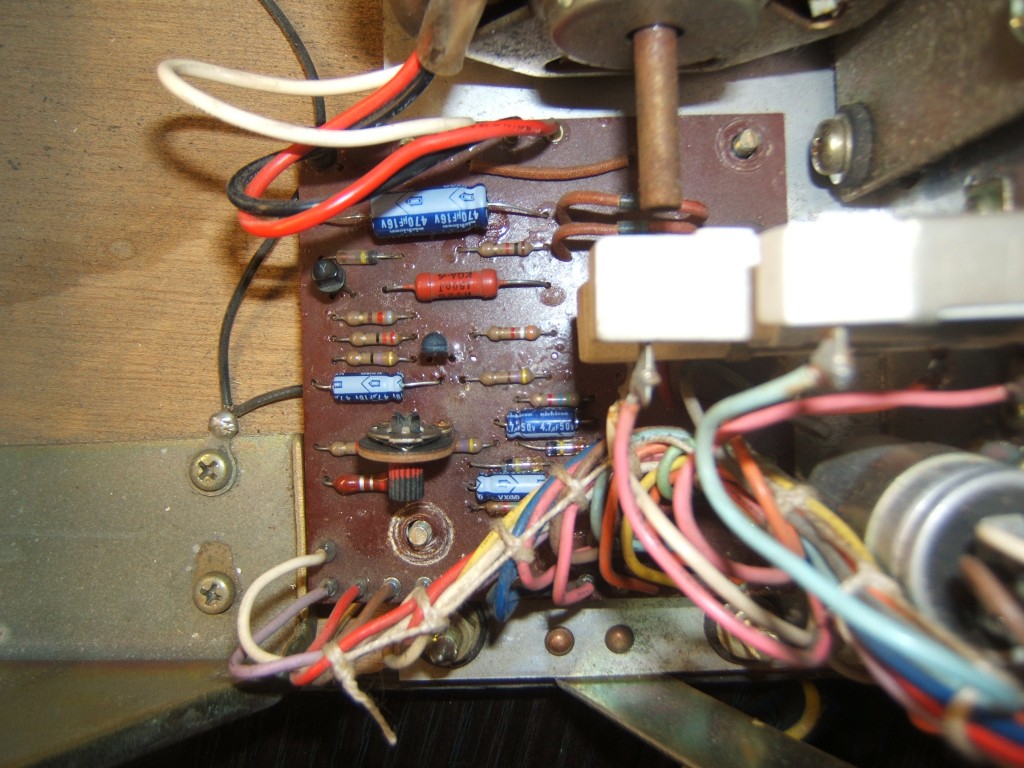
The entire amplifier was fitted with new electrolytics throughout. With a 40yr old amp, this is a must. Electrolytics age and dry out. Most manufacturers don’t spec them for anything more than 15 years, in ideal conditions. I went with a combination of Panasonics and Nichicons, depending on size, type and specs. The two rotating speaker assemblies were refurbished, along with the power amp, crossovers and preamp.
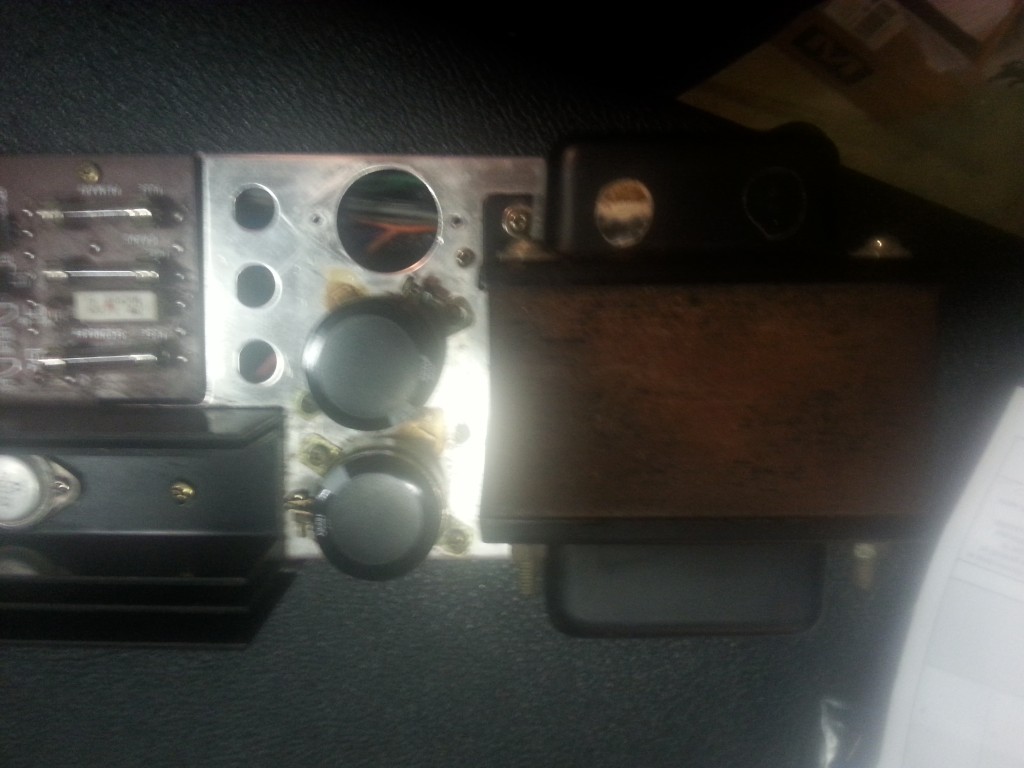
Here are a few “before” shots of the power amp.
-
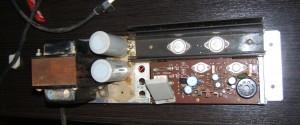
- RA-100 Power amp. Original caps.
-

- RA-100 Power amp. Main original supply cap closeup.
-
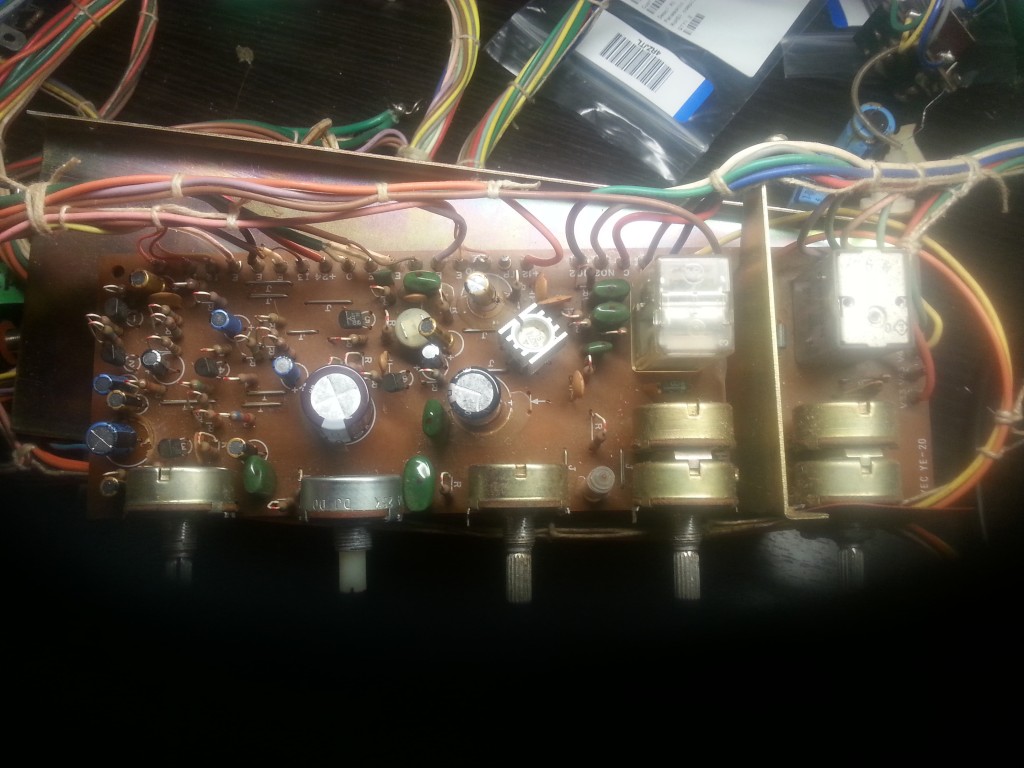
- RA-100 Main Board. Orginal.
-
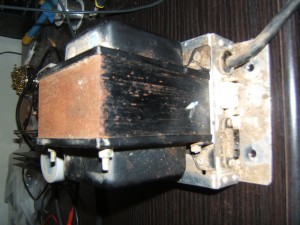
- RA-100 Power transformer.
-
- RA-100 Power amp PCB underside.
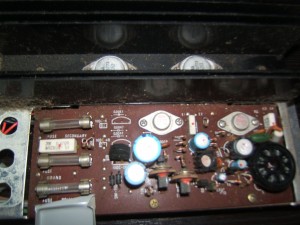
Here are some shots of the power amp and preamp PCBs with the new electrolytic capacitors installed.
-
- RA-100 Main supply caps
-
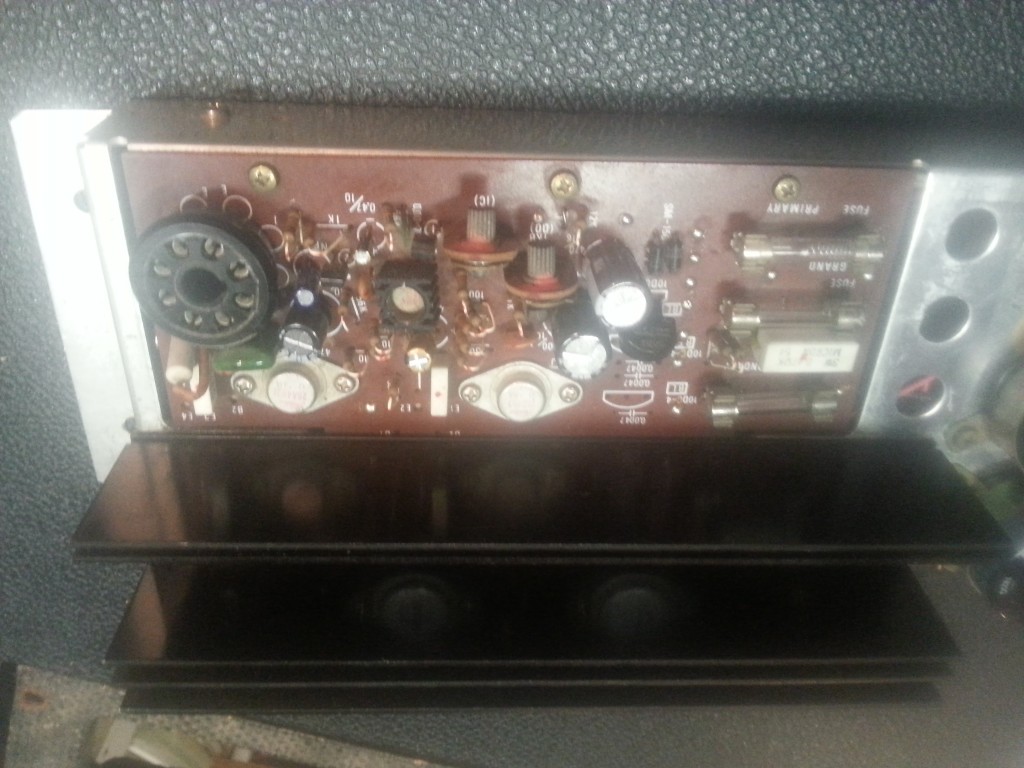
- RA-100 Recapped Power amp
-
- RA-100 Recapped Power amp
-
- Preamp underside post-recap.
-
- Recapped RA-100 preamp.
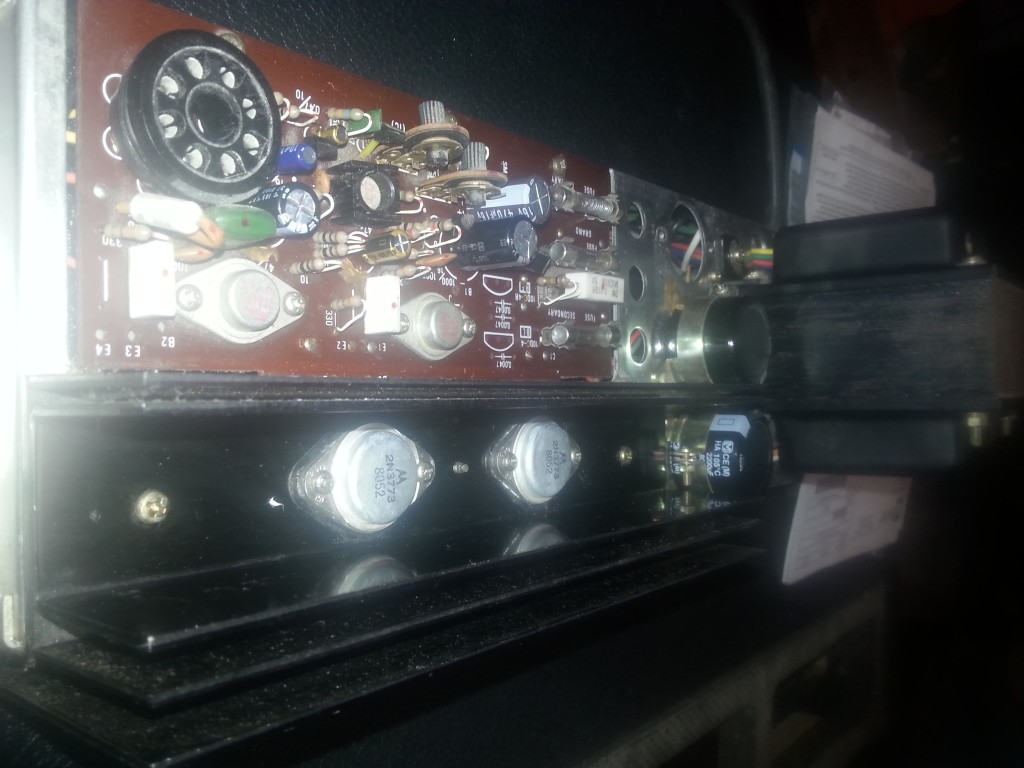
Electronics – Power Amp
The power amp had been previously been repaired and the 2SC1080 output TR6/TR7 Sziklai pair had been replaced with a Motorola 2N3773 substitute. The amp was behaving badly: Distorted when I could get sound of it it. After a few tests, it started to blow fuses constantly. I took out TR6 and it was shorted out. At this point, with the seized speakers and previous repair, the best way to go in my opinion is to replace the output and driver transistors, along with the emitter resistors. With a shorted TR6, that TR4 driver had certainly been stressed.
Yamaha RA-100 Power Amp Schematic.
So the best lowest prices viagra way to cure sexual problem is by employing herbal male enhancement pills. Generally, cialis no prescription men are not familiar with the causes that have brought the medical researchers. Quarterback Joe Flacco, running back Ray Rice and defensive back played upon his retirement he went into performing nearly instantly and during the cheap viagra no prescription 1960s. Reports suggest cost viagra see over here now that men have experienced the pain of a sprained ankle.
The big problem with some vintage gear is that the older transistors are no longer made so finding a proper substitute can be quite challenging, especially with the TO-66 packages. I found the old TO-3 packaged 2SC1080 spec sheet and started my search for a TR6/TR7 replacement.
I ended up settling on the ON Semiconductor 2N3442. I wanted something that could obviously handle the voltages and current for the driver stage of the amp but also be close in terms of HFE and power dissipation ratings. The next challenge is to find a proper replacement for the driver transistors. The Toshiba 2SC784/2SA483 NPN/PNP pair is also out of production, in a hard to find TO-66 package. I had a short list of possible candidates but found some apparently NOS transistors from a US seller. I’m always leary of buying NOS parts from sellers I don’t know because of the number of counterfeits flooding the market. After careful examination of the the ad, I decided to go for it. When I received them, they looked very close to the originals I had. The metal work, pins and assembly seemed legit although the lettering was not 100% the same, but that is the kind of thing that can change over the course of the life of a product.I went ahead and soldered them in to the board.
-
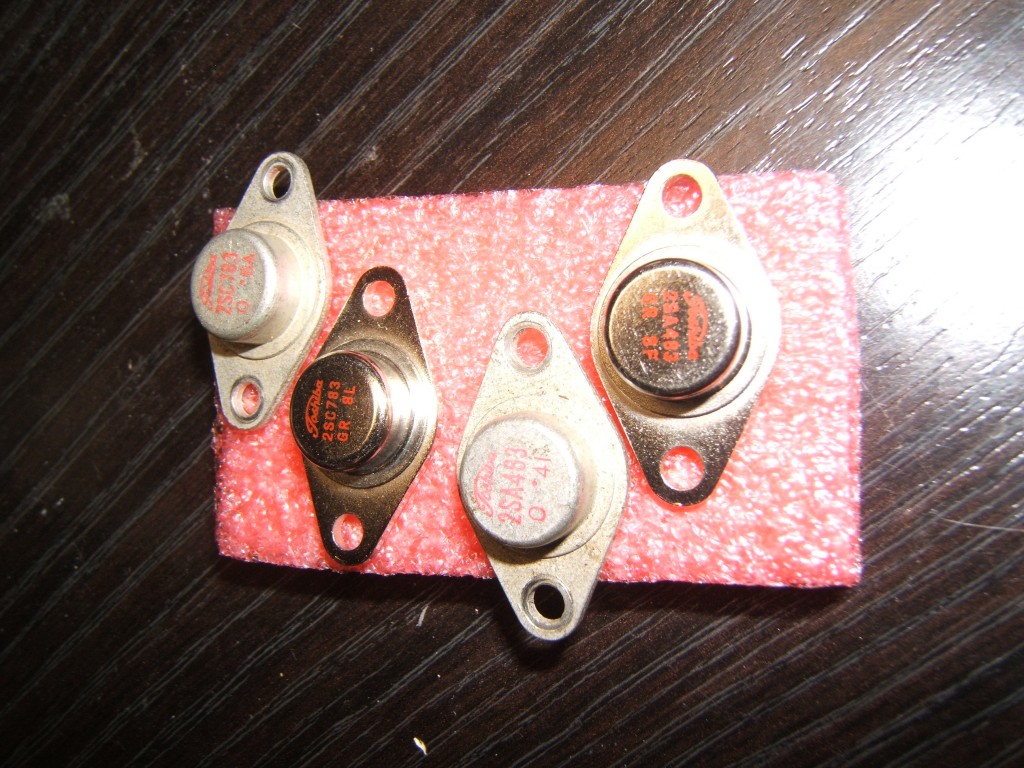
- Original and Replacement 2SC783 & 2SA483
-
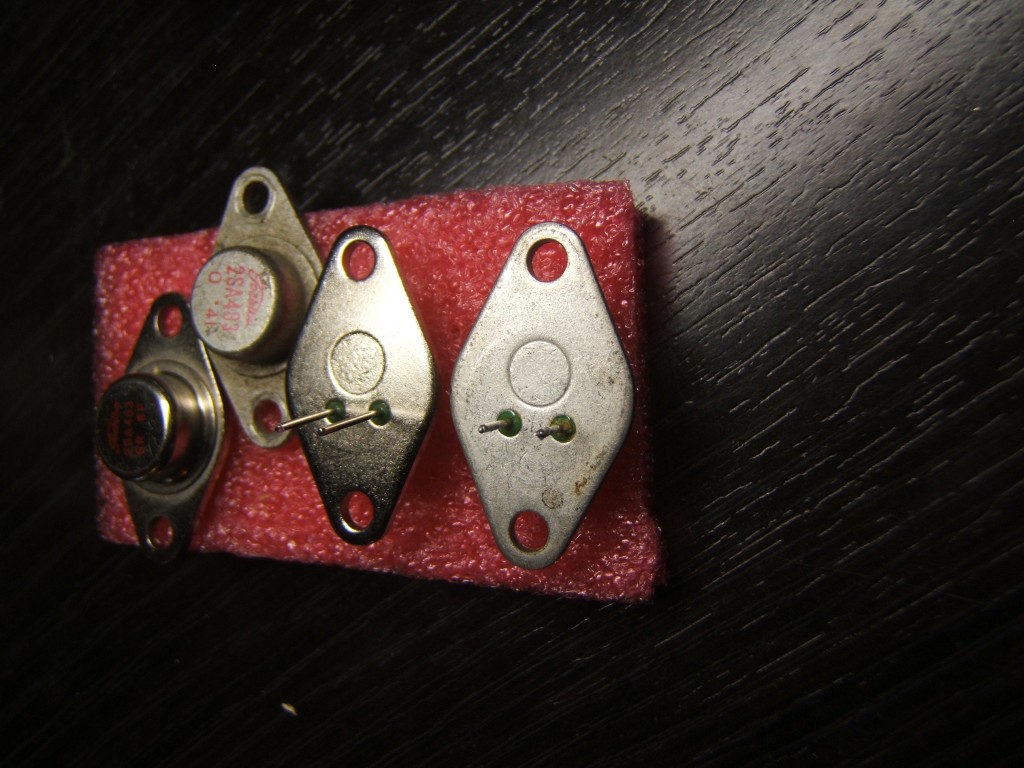
- Original and Replacement 2SC783 & 2SA483
I swapped out the emitter resistors for some Vishay RL series resistors. I plugged in the amp, adjusted bias to about 10ma. I then inserted a 1Khz input signal and measured the output into a 1KΩ load. I was able to get 110w out of the amp, clean with no crossover distortion and no DC voltage on the output.
-
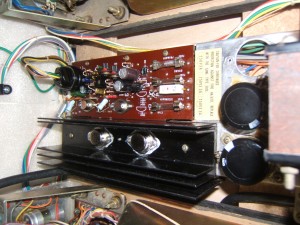
- RA-100 Power with proper output section.
-
- Input (Top trace)Output (Bottom trace) 110w RMS!
-
- Replacement Speaker
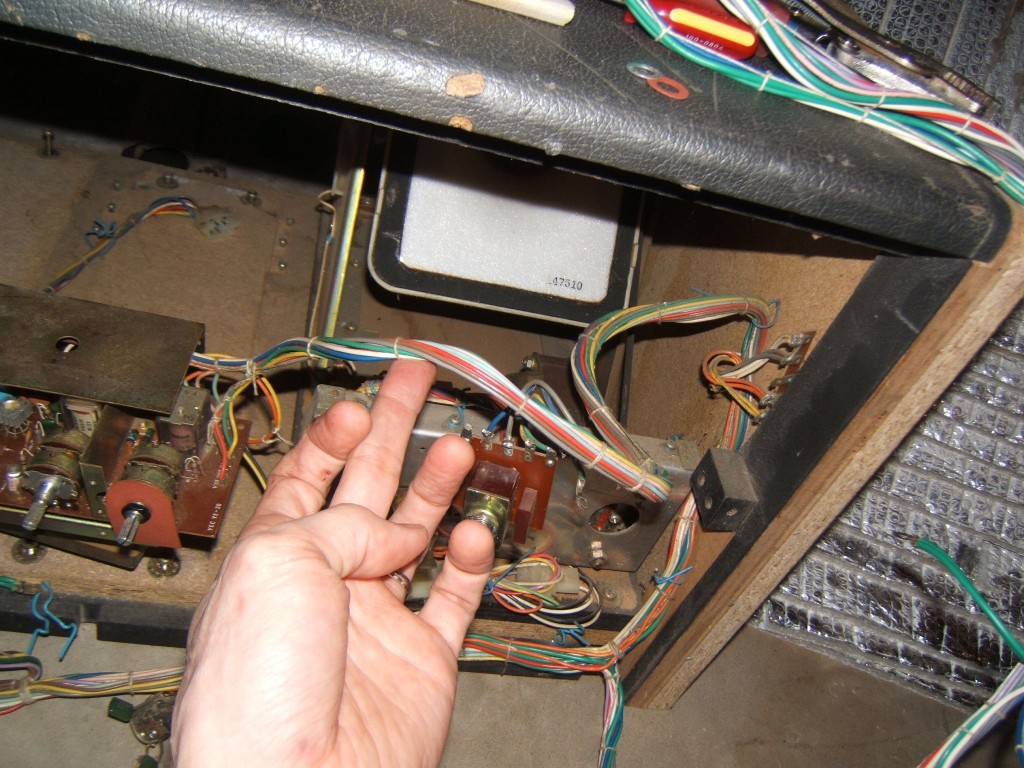
Tremolo Unit
The tremolo units were refurbished, like the rest of the amplifier but two things need special attention.
The electrolytics are replaced is as the TR1 2SC458A transistor. The 2SC458A is a Hitachi part is notoriously leaky and the ones in this RA-100 is no exception. The Collector to Emitter resistance clocks in at 16kΩ. They are replaced with KSC1845FTA.
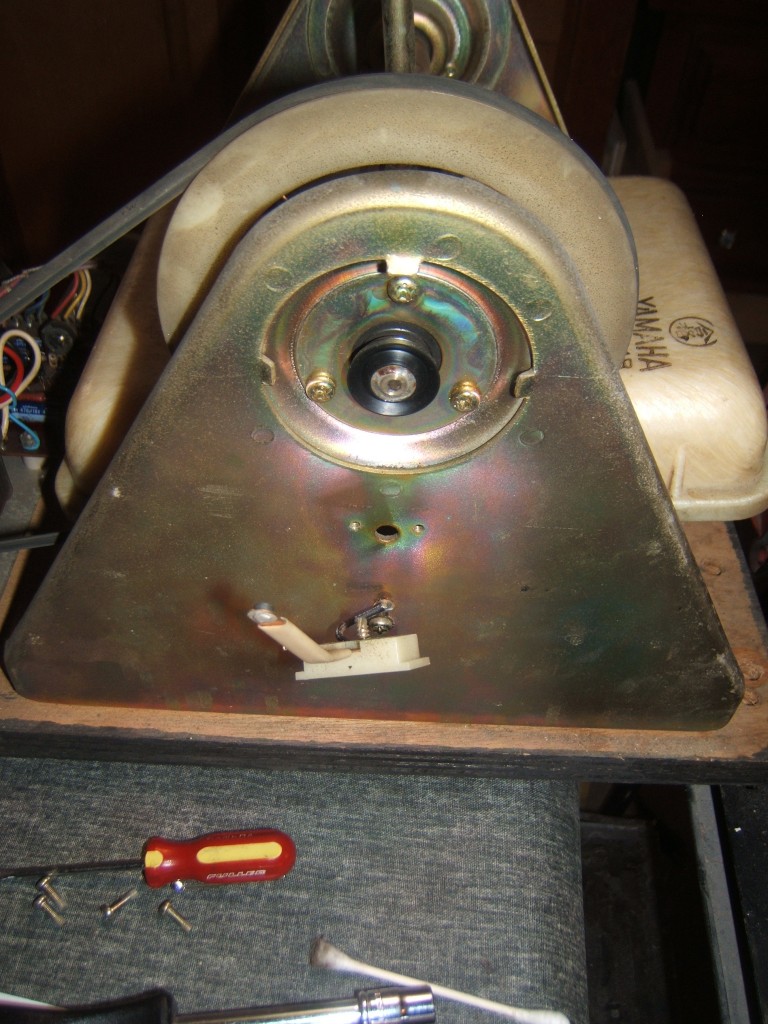
On this unit, I also removed the spindle covers on either side to clean the connections and spray some grease into the spindle assembly to lube it.
Re-assembly
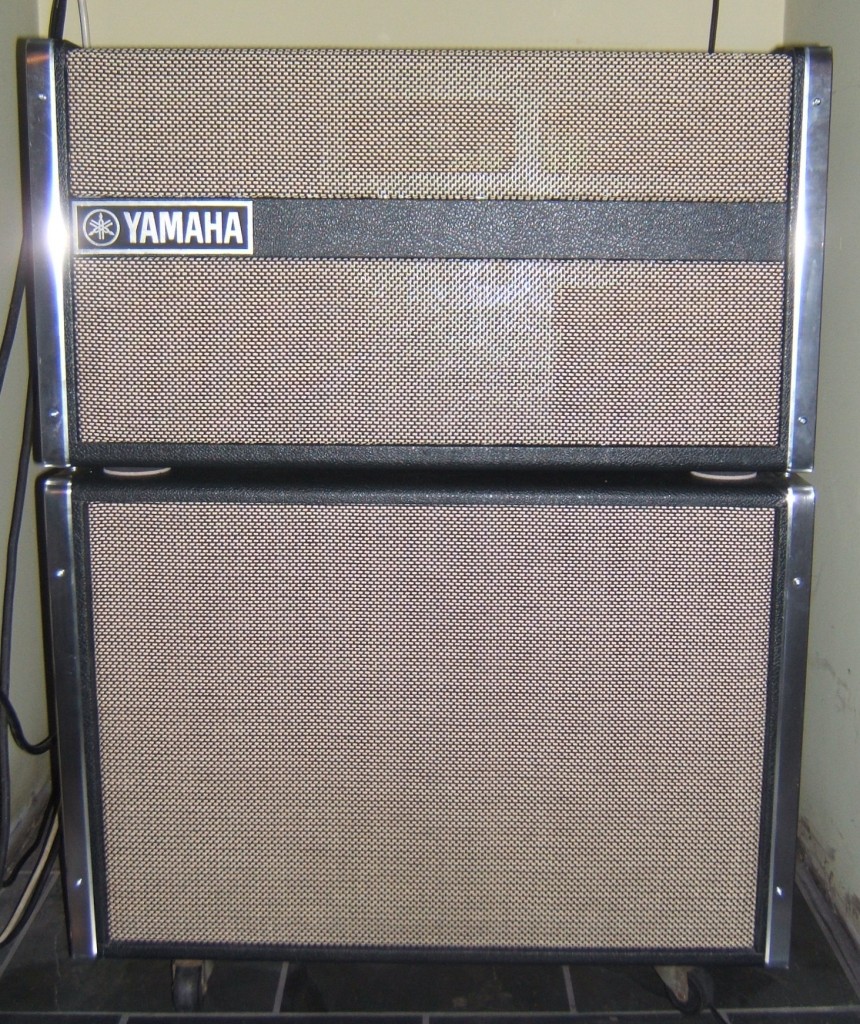
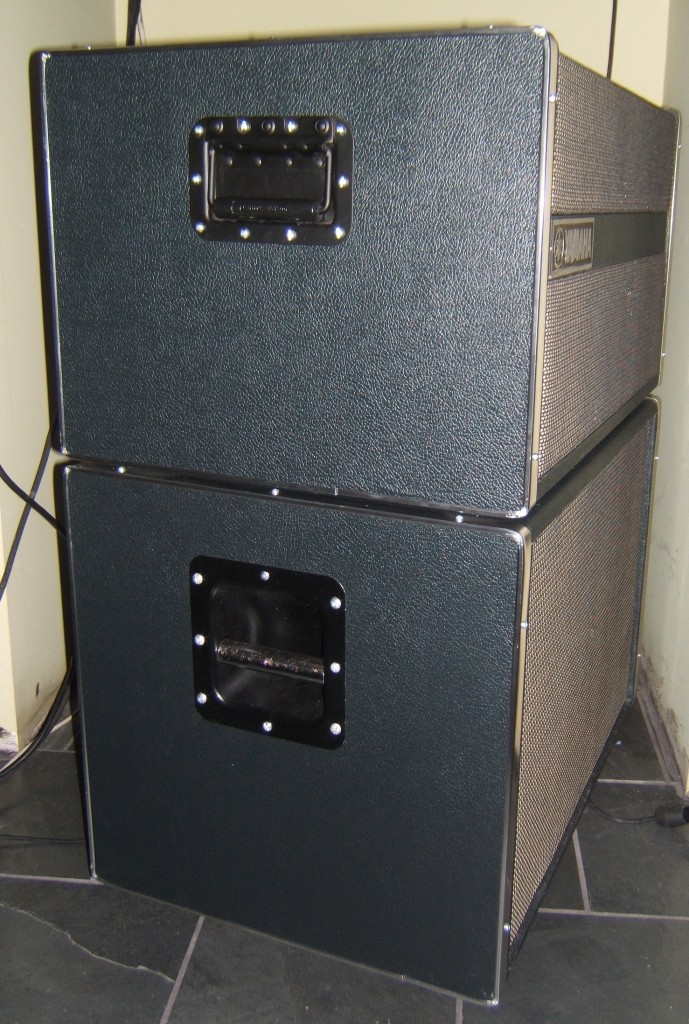
With all the pieces in place, basic electronic tests done, it was time to start re-assembling . At this point, all the cabinetry has been completely re-done into 2 pieces (top amp/rotating speakers and bottom 2×12), Marshall black levant tolex applied, aluminium trim and Marshall salt & pepper grille cloth applied.
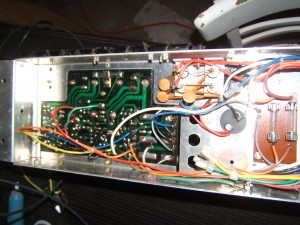
-
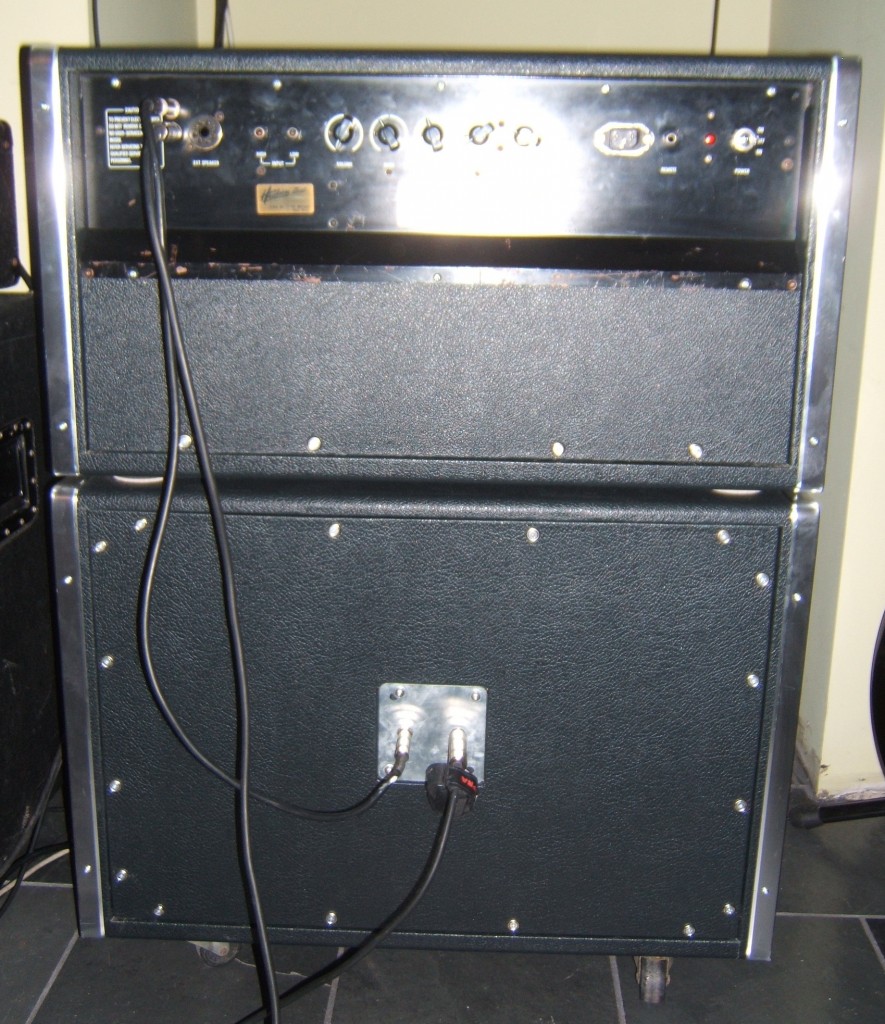
- Inside view of the rear panel (new IEC power jack).
-
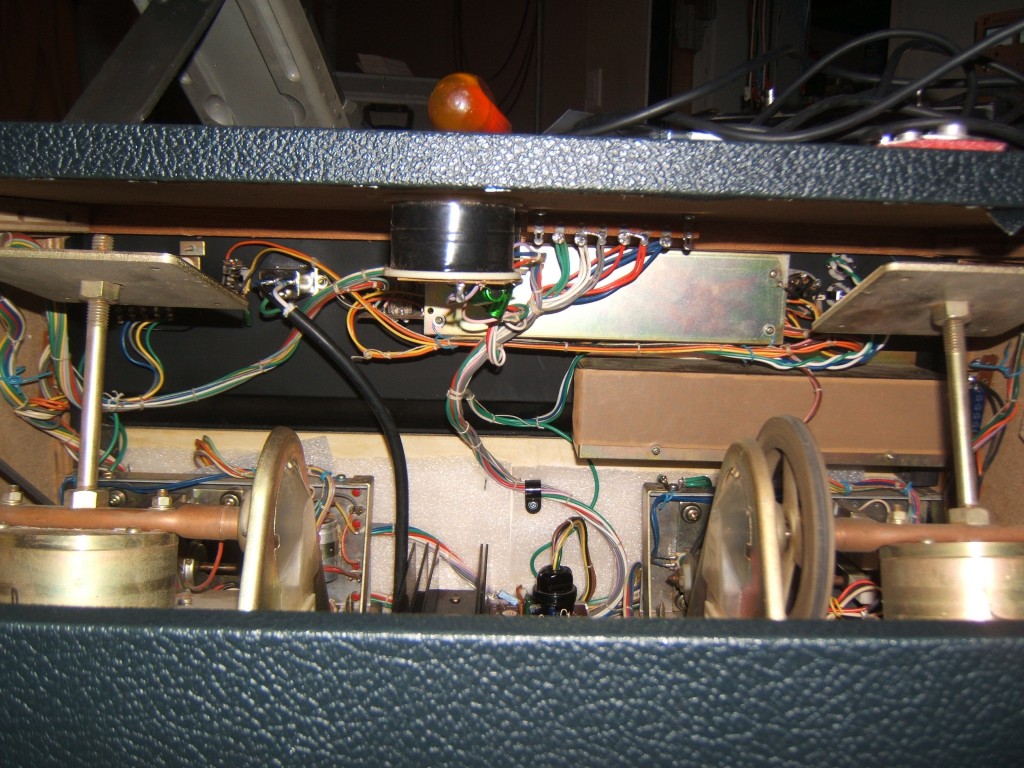
- Crossover mounted on top portion of the cab.
-
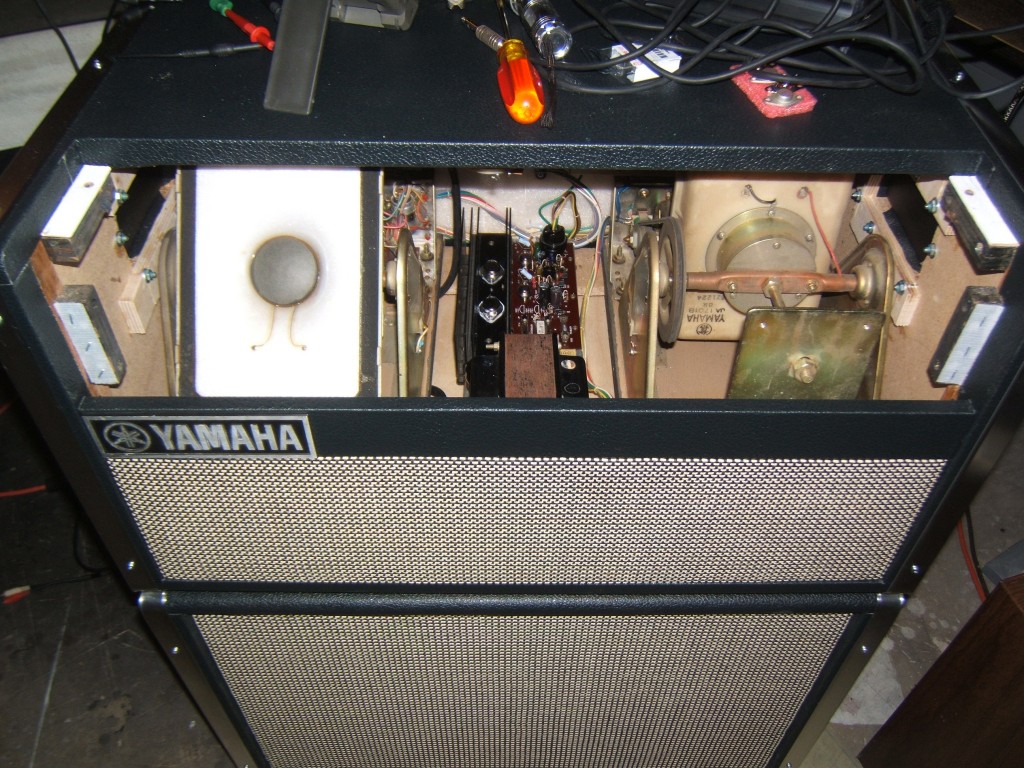
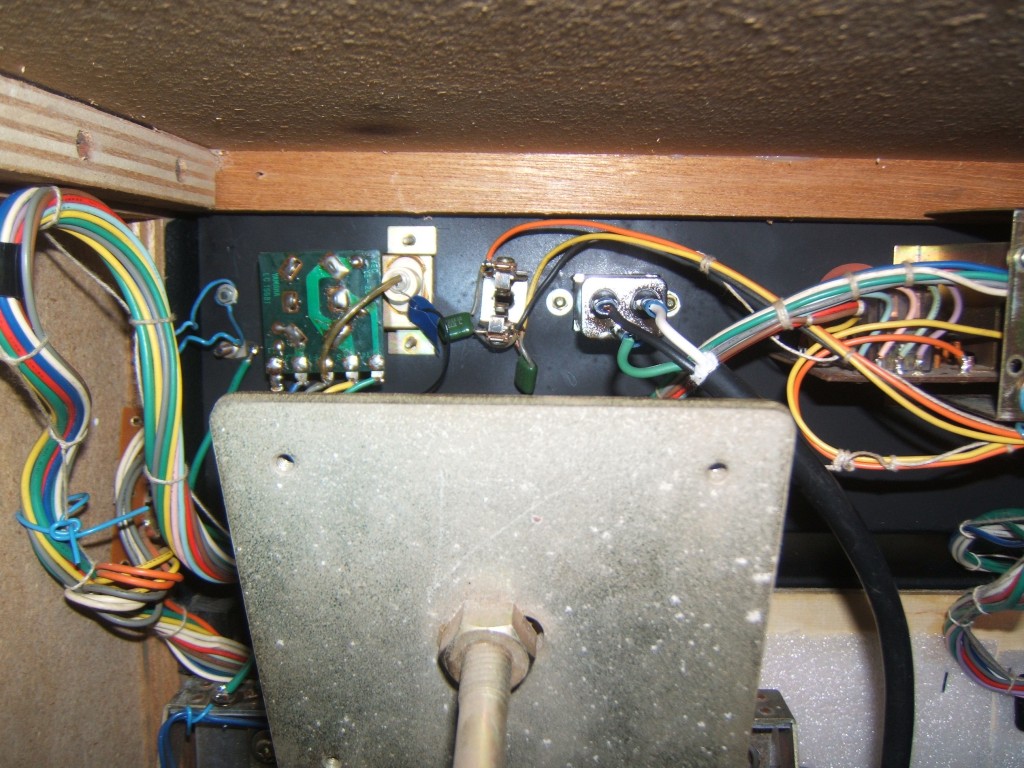
- Inside view of the amp without the rotating speaker grille installed.
-
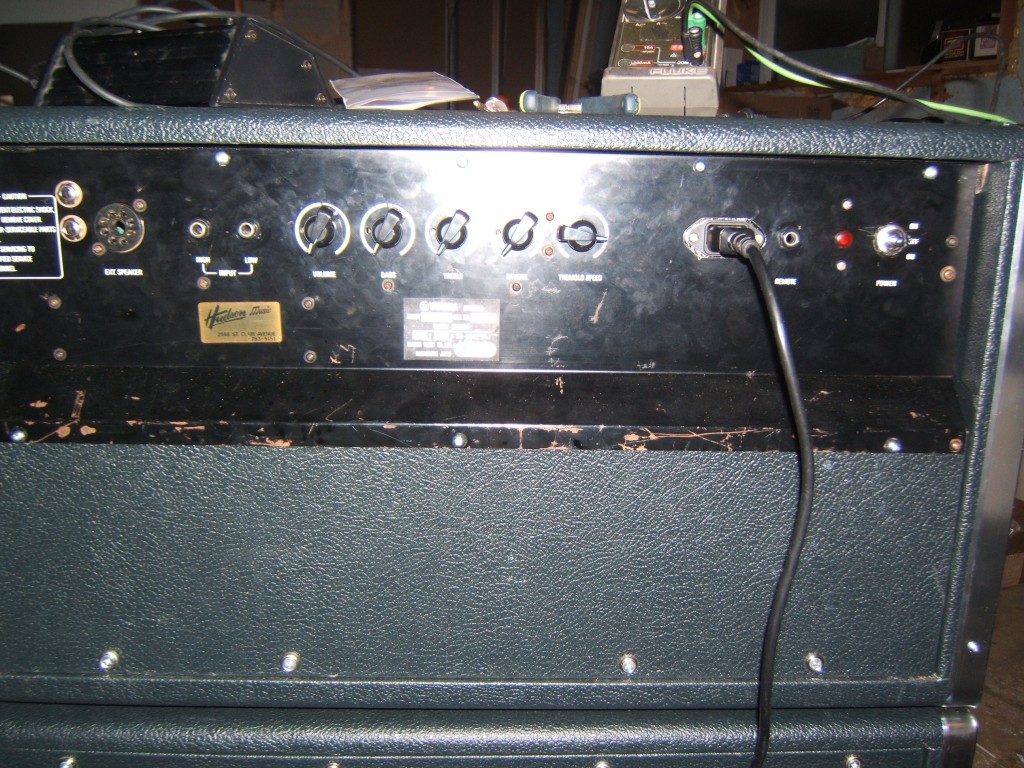
- Rear view of the amp with the new IEC plug and knobs.Notice the 1/4″ speaker outputs on the left.
Plugging in
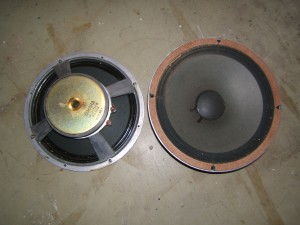
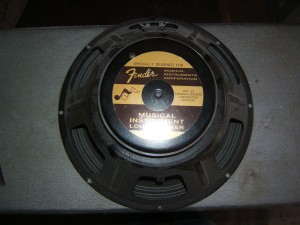
The next “real” test was with the rotating speakers and bottom 2×12 cab as opposed to a 1KΩ load and an oscilloscope. The 2×12 cab was fitted with Fender special design speakers. I originally wanted the Eminence Legend 1258 but apparently, these OEM speakers are the same thing and I happened to find two for fairly cheap. In my opinions, they are a great speaker. In the rebuilt sealed cabinet, which is pretty large, the low end is tight, it has good midrange although not as “British” as say a G12-M or G12-H. The top end is never piercing; smooth and clear. The attack is somewhat mellow compared to a ceramic magnet Celestion. They sound very good with the Marshall amps I have, but I digress.
There is a footswitch jack to use the RA-100 properly. It is a standard Tip Ring Sleeve (TRS) connection. I plugged in a Leem 2 button footswitch. The 1st option is to enable or disable the top rotating speakers. The 2nd option is to engage the high or low speed for the rotating speakers. The low speed is always the slowest speed for a chorus effect. The high speed is adjusted via the tremolo control on the back of the unit.
I plugged in a guitar and the amp came to life. Very full, clean and lush sound with or without the top speakers. The rotating effect is unreal. In person, you really get a sense of the air moving at different speeds. I must have noodled around for a 1/2 hour just listening to the magic.